First of all, if you want to install Office 2013, you will need either Windows 7 or Windows 8. Previous versions of Windows are not support.
When you install Office 2013, you can either do a side-by-side installation or upgrade from previous version.
If you do a side-by-side installation, you can run either Excel 2010 or Excel 2013 on the same machine.
If you upgrade, you can do a full upgrade or just remove one or more Office 2010 applications.
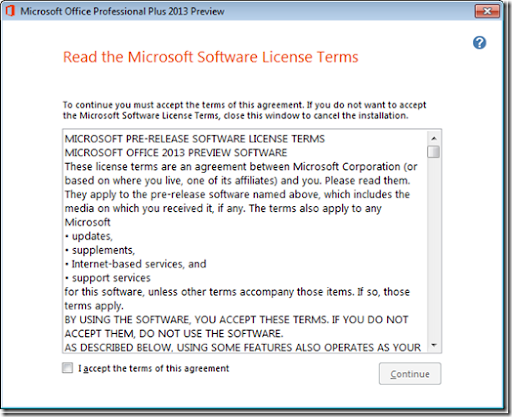
When you run the Office 2013 installer, you will need, as usual, to accept the license terms:
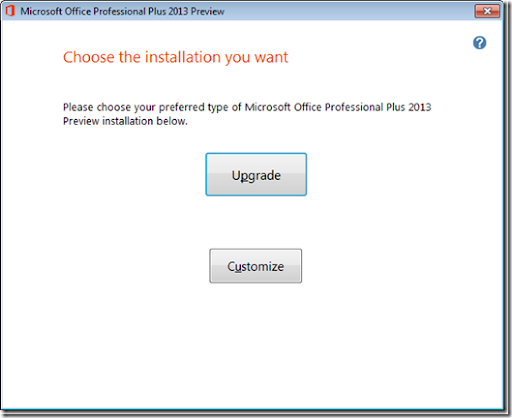
You then get the option to upgrade or customize your installation:
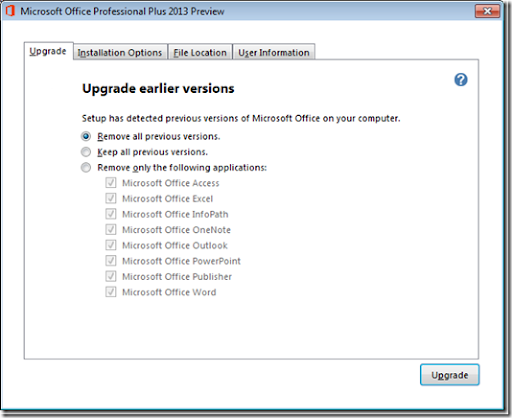
If you want to remove all previous versions, you should choose Upgrade. If you want to install Office 2013 side-by-side with Office 2010, you should choose Customize. You will then get this options:
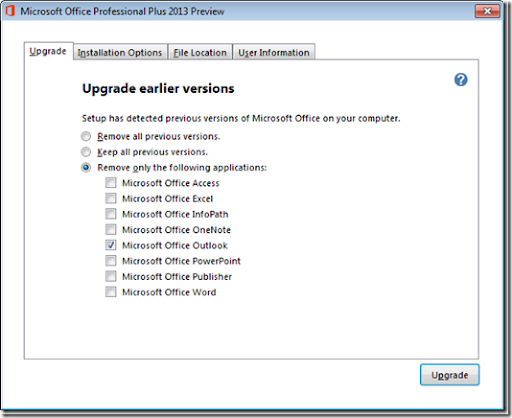
Here you can choose to remove all previous versions and do a full upgrade (first option “Remove all previous versions”, you can choose a side-by-side installation choosing the second option (“Keep all previous versions”) or remove one or more of the older Office 2010 applications by choosing the third option “Remove only the following applications”) and then ticking the applications that you want to remove. You have here a restriction that is Outlook 2013. You cannot have Outlook 2010 and Outlook 2013 on the same machine so you have to remove, at least, Outlook 2010 from the previous installation. So, to have a side-by-side installation of both Office 2010 and Office 2013 on the same machine, you should select the third option and tick “Microsoft Office Outlook” option, like this:
After the installation, the existing Excel files will open on the new Excel 2013 version. If you want to open file on the Excel 2010 version, you should open Excel 2010 and then open the files by going to the File-Open menu.
